ONLY Liquid EPDM in the world!

ONLY Liquid EPDM in the world!


If you own an RV, you want to make sure it is in good shape. That means quite a few …
Owning an RV is fantastic. You get to take it out camping so you can “rough it” in style, not …
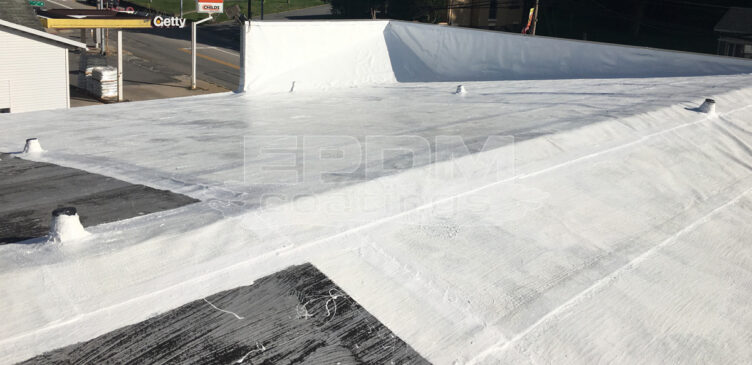
While we put a lot of thought and consideration into what we choose to coat the roofs of our homes …
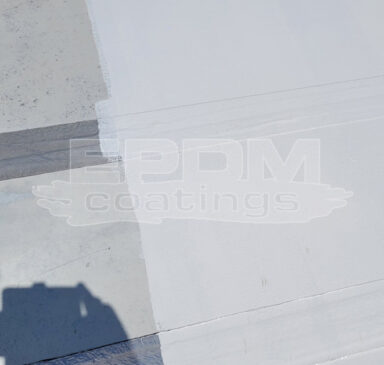
When it comes to selecting roofing sealants for your RV, the market is huge. There’s all sorts of materials and …
Your RV is a source of liberty and adventure. You can go almost anywhere in comfort and style, and you’re …
It’s a scenario no RV owner wants to think about. They’re on the road or they’ve retired for the night …
A lot goes into making an RV road-worthy and comfortable. While it takes all kinds of different parts, it should …