ONLY Liquid EPDM in the world!

ONLY Liquid EPDM in the world!


If you have taken the steps to get an RV coating, then you are in a very good position to …
If you own an RV, you want to make sure it is in good shape. That means quite a few …
Your RV is more than just a vehicle. It is an extension of you, a part of your personality. It …
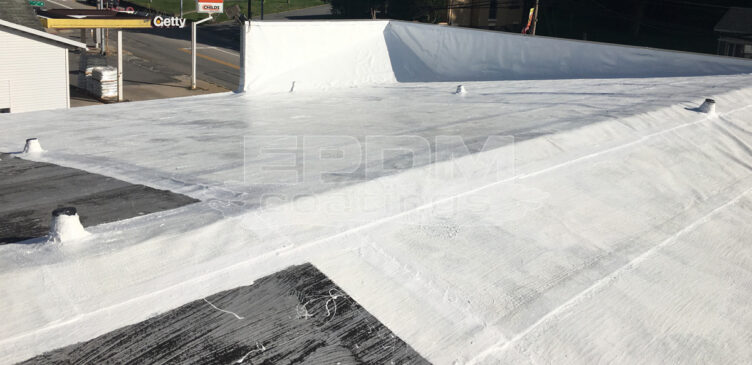
When it comes to a strong roof, you probably don’t immediately think of the word “liquid.” However, the future of …
Longevity and durability are two very important words when it comes to your roof. You do not want to have …
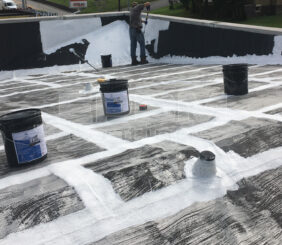
With so many options on the market for you to choose from in terms of roofing solutions, knowing where to …
It’s never fun realizing your recreational vehicle has a leak in it. When RVs are working properly, they offer practically …