ONLY Liquid EPDM in the world!

ONLY Liquid EPDM in the world!
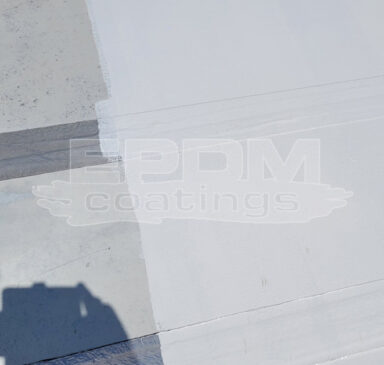


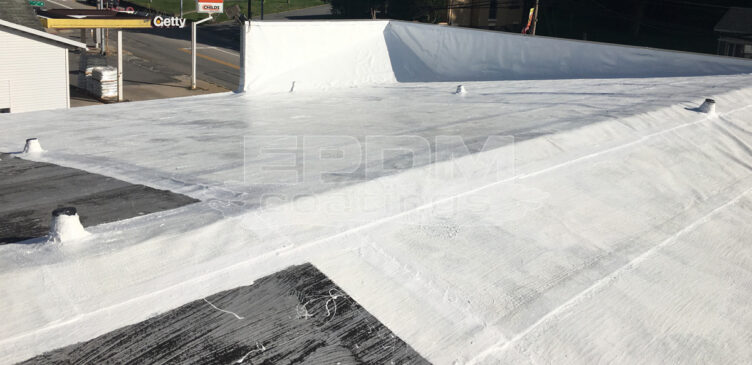
Waterproof, durable, and resistant to UV rays, EPDM roof sealant has been a staple in the roofing industry for over …
Do you have repair projects around the house? Maybe you’re responsible for maintaining a commercial property. Whatever the case, liquid …
Business structures perform many important functions. They hold your merchandise or production machinery. They shelter your employees and customers. They …
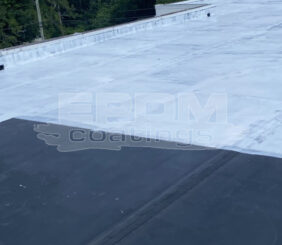
A butyl rubber roof coating can offer years of service and protection from the elements and makes an affordable replacement …
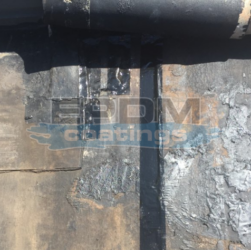
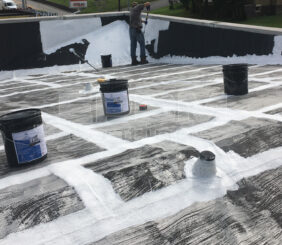
Are you looking for a solution to your commercial roofing challenges? Whether you’re installing a new roof or repairing your …
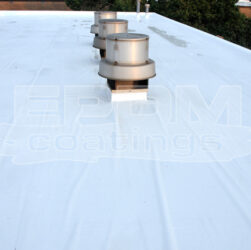
Liquid EPDM rubber roofing is one of the longest-lasting, most environmentally friendly roofing options on the market. When properly installed, …
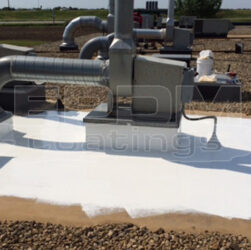
Liquid butyl rubber roofing is a popular product that’s used in several different industries for roofing when more flexible protection …