
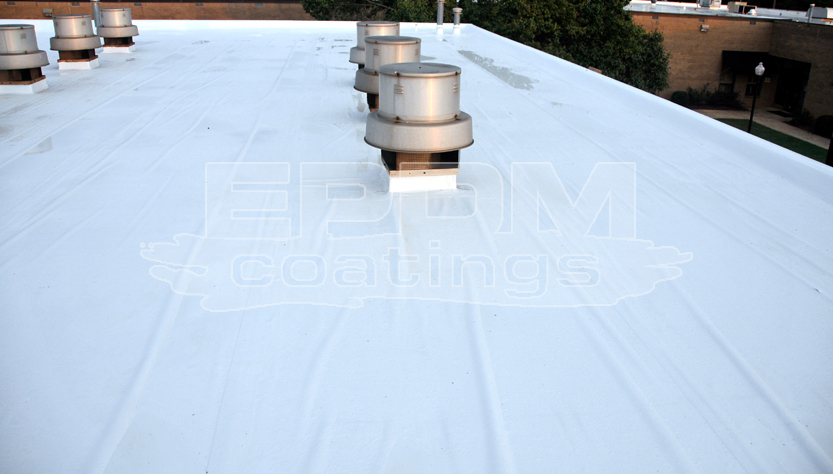
Liquid EPDM rubber roofing is one of the longest-lasting, most environmentally friendly roofing options on the market. When properly installed, it can last up to 50 years. It doesn’t leach chemicals into rainwater and can even support green roofs. However, to get those benefits, you need to ensure that your roof is installed correctly. In this post, we’ll cover five critical tips for installing Liquid EPDM rubber roofing to save you time and hassle while ensuring you get the lifespan and protection you deserve.
1. Roof Deck Prep Is Critical
You want your Liquid EPDM rubber roof to last as long as possible. For that to happen, you need to spend some time preparing the roof deck. The deck should be clean of oil or dirt, and it should be completely dry. If you’re installing EPDM over an existing roof, consider putting down plywood or OSB beforehand. We also recommend putting down a layer of insulation (iso board) if you’re applying Liquid EPDM rubber roofing directly to the decking. This will help protect the membrane and prevent issues stemming from water vapor while also helping to ensure that your adhesive works properly.
2. Inspect the Roof and Replace What’s necessary
Before putting down the EPDM membrane, you need to inspect the existing decking and framing (where applicable). Often, ponding water causes decking and even framing to sag. Installing Liquid EPDM rubber roofing over these areas will not address the ponding problem. The decking and possibly the affected framing must be replaced. Aging half-lap or built-up roofing should also be inspected to ensure there’s no damage to the framing. If there is, it should be replaced before installing EPDM.
3. Give the Membrane Time
Roll out your EPDM membrane on the roofing surface and give it time to return to its normal shape. This may take a few minutes or several hours, depending on the temperature and the ambient sunlight. In warm conditions, it takes very little time for the membrane to return to its previous state, but cold temperatures can increase the time required. Unroll the membrane where you’ll install it and allow at least 30 minutes before you begin installation.
4. Give the Adhesive the Best Chance of Success
Always use iso board with Liquid EPDM rubber roofing. Unlike rigid roof insulation board, this has a felt-like backing that’s designed to work with EPDM adhesive.The rubber will sit over the installation screws and fastener plates, with the dimple pattern visible for inspection and warranty purposes.
5. Brush It
Finally, make sure you brush the EPDM with a stiff bristled brush after installation. This helps ensure good adhesion and eliminates wrinkles and air pockets to ensure a smooth, even surface. We recommend rolling the membrane back and exposing it a few inches at a time to apply the adhesive. Note that you should not do this before the adhesive becomes tacky. If you install the rubber after it begins drying, it may not adhere properly. Your adhesive will dry faster with higher temperatures and direct sunlight, so be conscious of this during the installation.
Here’s to Your New Roof!
Liquid EPDM rubber roofing is simple and easy to install. It’s weather-proof, UV-resistant, and can last up to 50 years. Use the tips we’ve provided above to ensure that your roof gets the best possible start. With a little TLC, there’s no reason that your roof won’t last as long as possible. Remember – inspect your roof, take care of any repairs and all prep work first, then slowly install the rubber with plenty of time for it to return to its original shape. The adhesive is critical to your success, as is brushing out wrinkles and air bubbles.